Just as I announced in my previous post, here is a new entry in the Surface Knowledge series available for download.Tal y como anuncié en mi anterior entrada, aquí está un nuevo material de la serie Conocimiento Superficial disponible para la descarga.
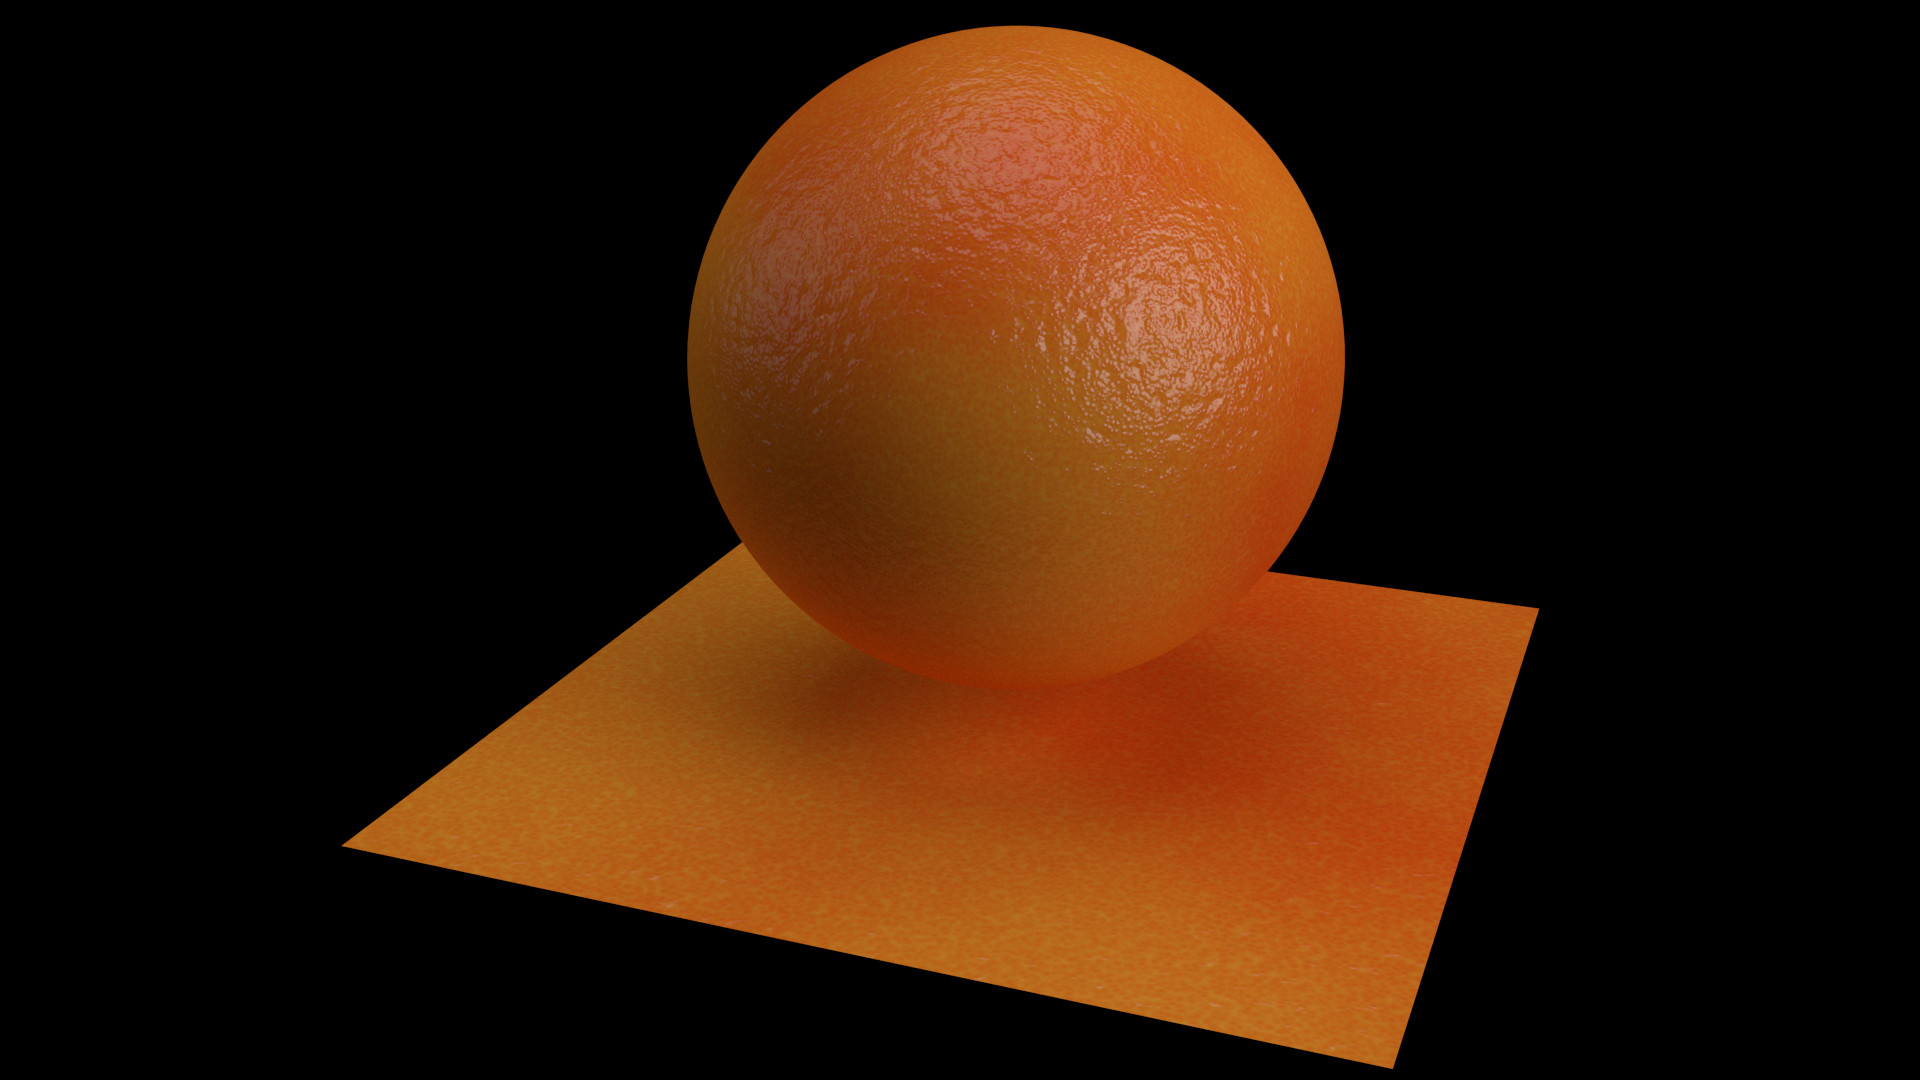
This is how the shared material looks like:
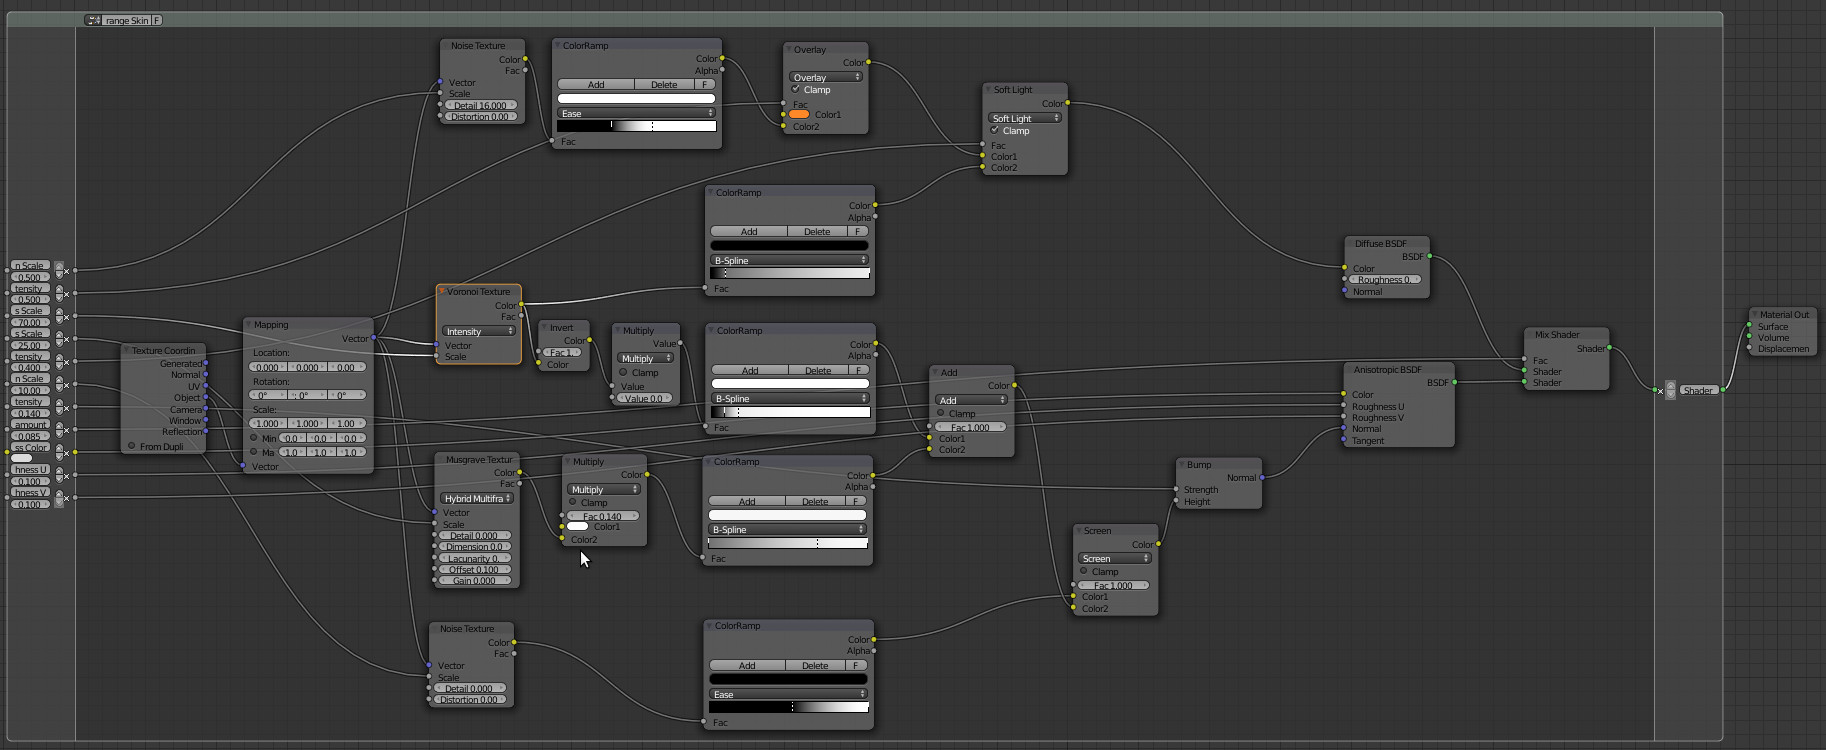
Here is a look at the node setup:
As you can see, subsurface scattering is nowhere to be seen in this node setup. The key here, besides the complex combination of several procedural textures, is substitution the glossy shader for the anisotropic shader to get the reflectivity, and then plug per shader bump mapping in the anisotropic only, instead of both the anisotropic and the diffuse shader. You might think that something similar could be achieved using the glossy shader, but the in my experience, anisotropic gives off a more subtle gloss the is easier to tweak for good results.
Finally, here is the .blend file, freely available for anyone interested in using it on a project (and while you are at it, you can send me some nice render with your results ;)):
http://www.minimaexpresion.es/blend/Procedural_Orange_Skin_1.2.blend
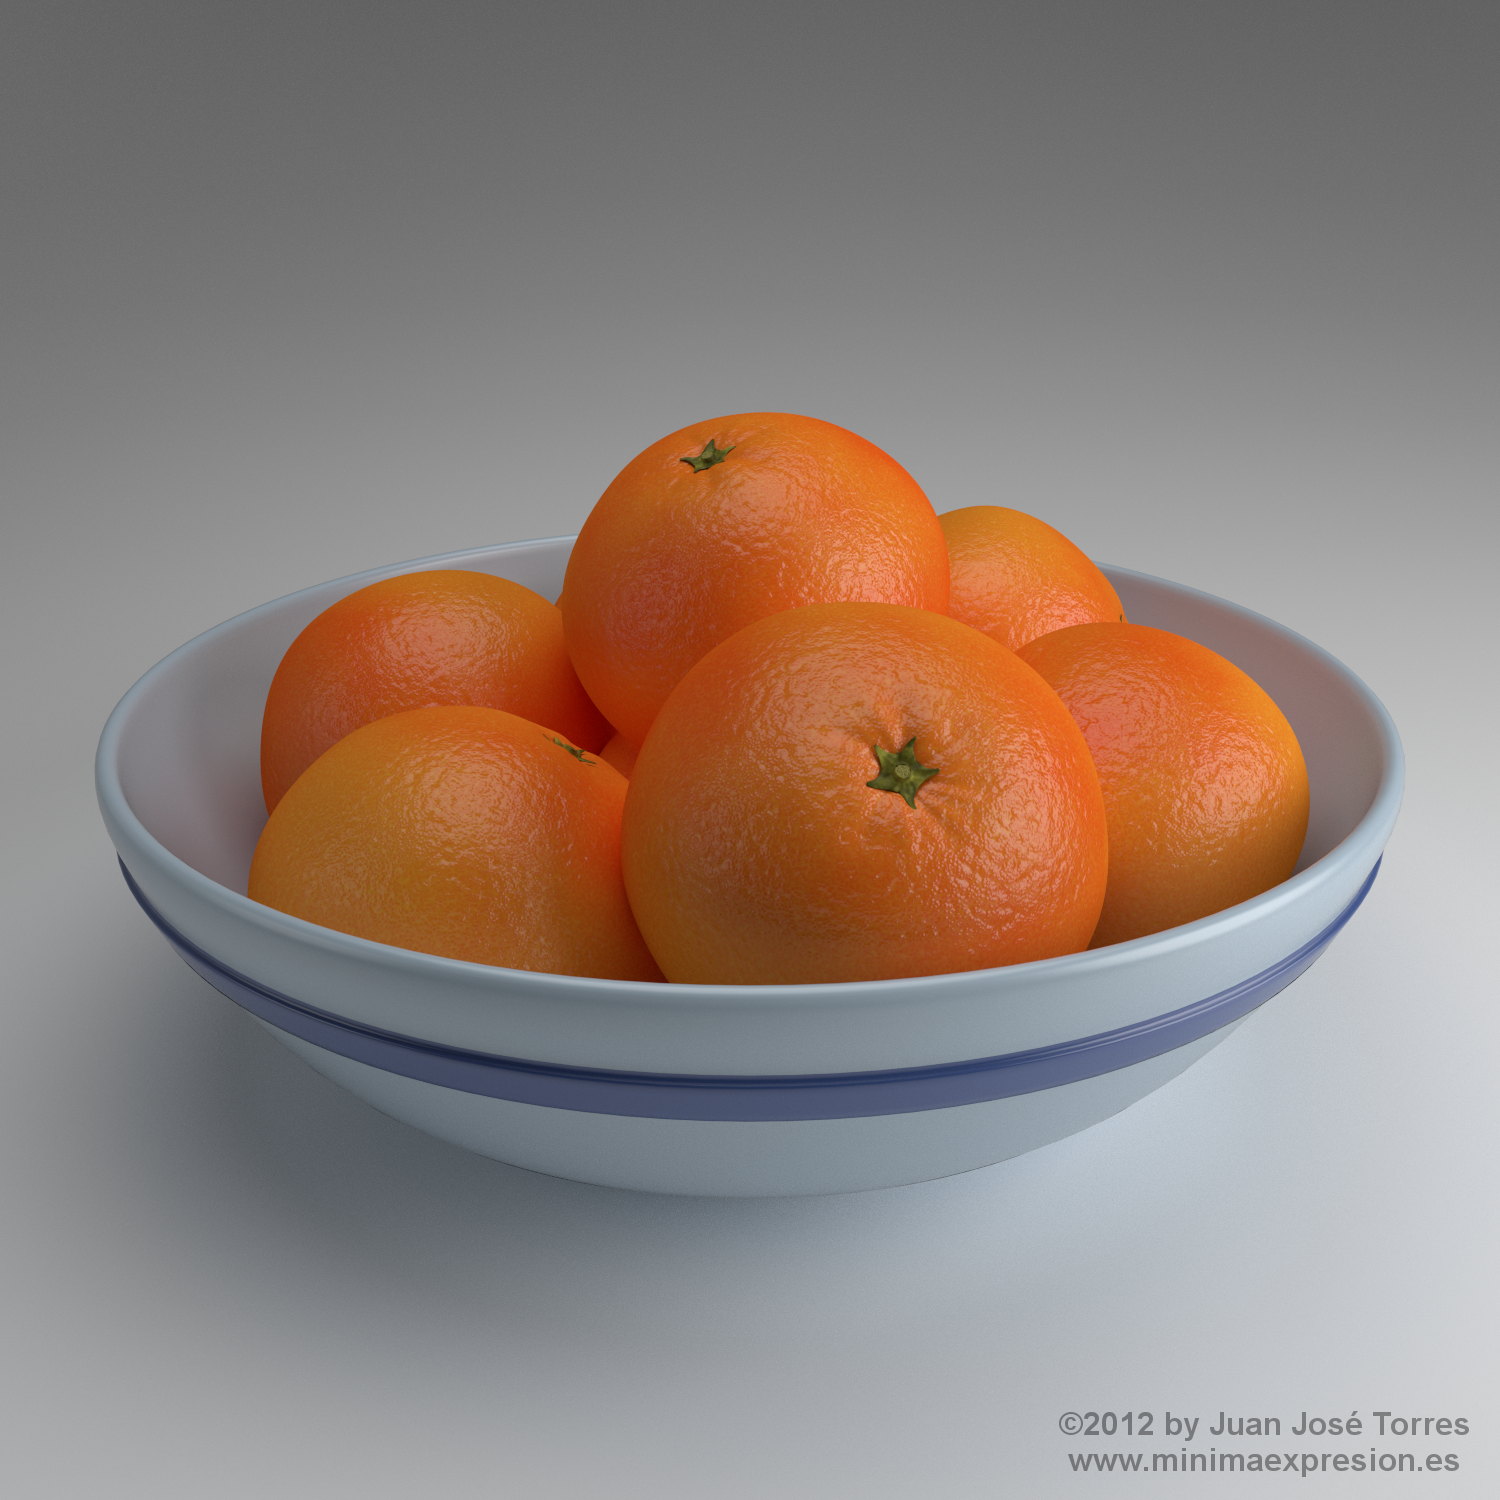
This is the very same material used to render this scene:
This is all for now. Stay tuned for more Surface Knowledge. 😉
Update v1.1: Since anisotropic is very much WIP at the moment, I’ve decided to replace it with a simple gloss material, which is capable of achieving the same visual effect in this context. This will make the material more future proof, and has enabled me to simplify a bit the controls.
Update v1.2: Recent changes in the the way the bump node works had broken this material. This update fixes that problem.
Este es el aspecto del material compartido:
La configuración de nodos de este material es la siguiente:
Como se puede comprobar, no hay ningún tipo de efecto de dispersión de sub-superficie (subsurface scattering) en el grupo. La clave, además de la complicada combinación de texturas procedurales, está en la sustitución de material brillante (gloss shader) por el nuevo material anisotrópico, y utilizar el bump mapping por materiales conectándolo únicamente al material anisotrópico. En principio se podría utilizar el material brillante para el efecto de reflexión, como suele hacerse habitualmente, pero he comprobado que la cantidad de brillo es más sutil y más fácil de controlar con el material anisotrópico.
Y aquí pueden descargar el fichero .blend aquellos que quieran utilizar este material (y de paso pueden enviarme algún bonito render con sus resultados ;)):
http://www.minimaexpresion.es/blend/Procedural_Orange_Skin_1.2.blend
Este es el mismo material que se utilizó para generar esta escena:
Eso es todo por ahora. Permanezcan en sintonía para más Conocimiento Superficial. 😉
Actualización v1.1: Puesto que el material anisotrópico es bastante provisional y está sufriendo bastantes cambios, he decidido sustituirlo por un material reflectante sencillo, con el que se puede obtener el mismo resultado visual. Además de hacer que el material pueda soportar mejor el paso del tiempo, esto me ha permitido simplificar un poco los controles del material.
Actualización v1.2: Cambios recientes en el funcionamiento del nodo de relieve habían roto este material. Esta actualización soluciona el problema.


Very nice indeed. Thank you for sharing your knowledge.
Thank you, Satish. It’s refreshing to see an actual comment here and not simply another attempt by some spammer to drive traffic to his site. I’m focused on modelling right now, but will keep posting new procedural materials from time to time, so stay tuned. 🙂
That’s a pretty damn good orange skin material! Good job and thanks for the .blend!
Thank you, Andreu. Just let me know if you do something interesting with it. I usually get back to my materials and refine them from time to time, so I could have updated versions available in the future. I’m also working on new materials wich I will be releasing in the comming months.
Pingback: Blender | Pearltrees
Awesome buddy, currently i am working on a Orange but i could not find perfect texture, i am working on maya so can u pls upload maya tutorial or shader or atleast texture.. pls ..
your work is just awesome….
Sorry, I don’t work with Maya. Also, textures used in this material are not bitmaps, but Cycle’s own procedural textures, so there is nothing for me to upload besides the blend file already available. You might try to open the file in blender an study the way it works. With a bit of luck you might reproduce it in Maya.
Thanks , for the free procedural orange , looks realy good
Thanks. Glad you find it useful. 🙂
adios al problema de estar fajaos con el mapeado y texturizado para que el recubrimiento de una Naranja quede perfecto…
ya con esta Textura Procedural se ahorran muchos pasos y problemas
gracias…
Justo ese era mi objetivo principal al crear estos materiales: minimizar en lo posible la necesidad de hacer despliegues de coordenadas UV, probablemente la tarea más aburrida y cansada de todas la necesarias en el modelado 3D. 🙂
Wauwww!!,,,,Muchas gracias. Precisamente estaba buscando la forma de hacer una buena textura para frutas. Esto también sirve para hacer limones, limas, etc.
De nuevo muchas gracias.
Muchas gracias por el material, justo lo que buscaba. Magníficas también tus otras creaciones.